
for content creators
ADD VALUE TO YOUR RECIPES
a meal planning plugin for WordPress plus independent tools to automate timers and ingredient mapping
.
Built for food blogs and recipe sites
Keep readers engaged with planning inside posts
Improve usability with clearer steps and timers
Grow repeat visits and open paths to monetization
Wordpress Plugin
MEAL PLANNING PLUGIN FOR WORDPRESS
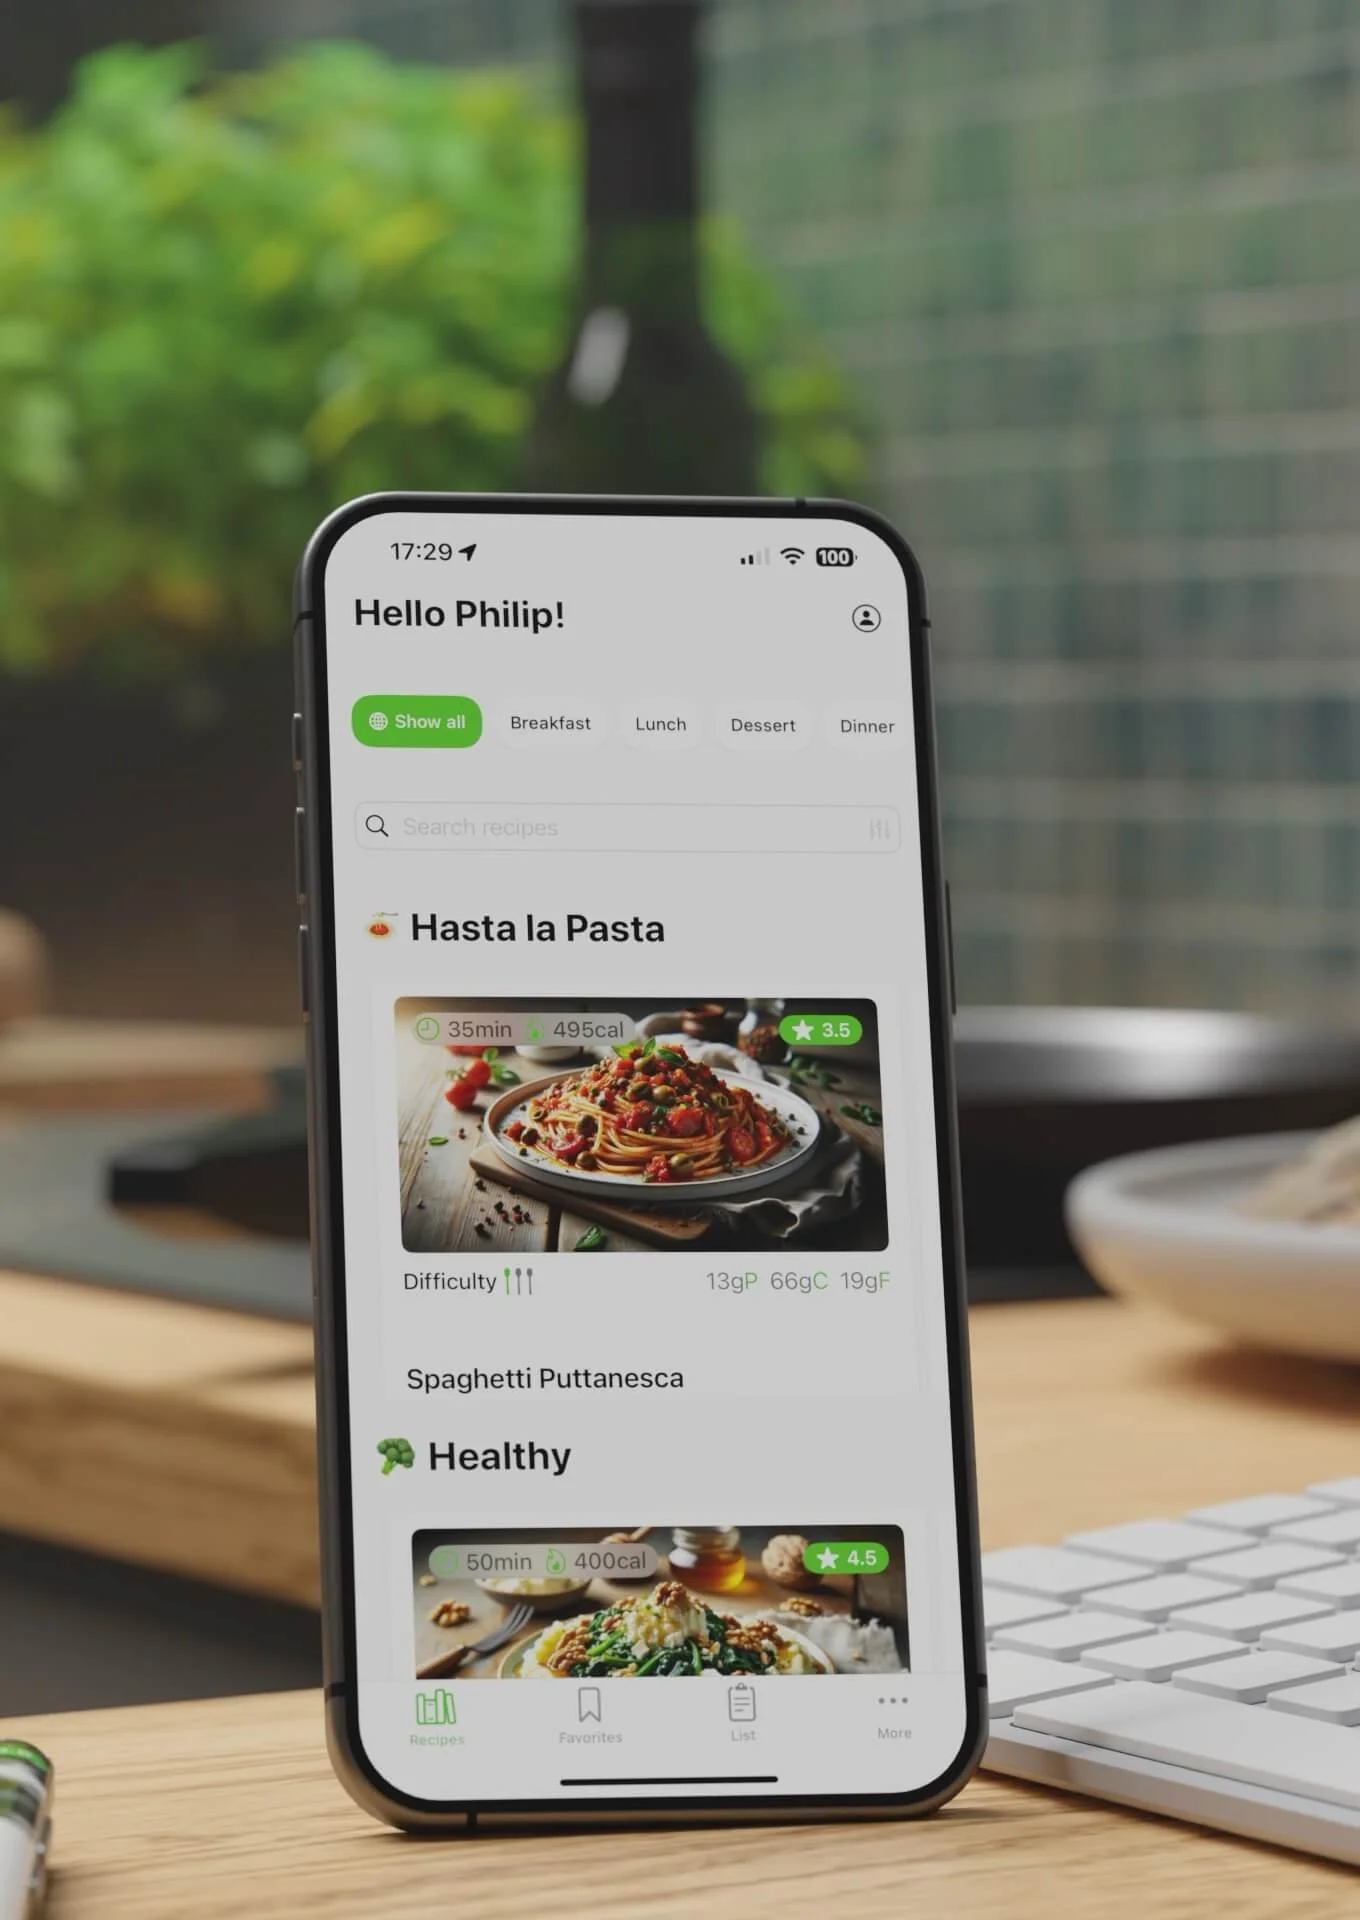
Let readers plan on your site. Visitors add recipes to a personal weekly plan from your posts. Clean, mobile-first UI across devices. Quick setup. Install the plugin, sign up to get your Client ID, enter it, the MSH UI appears on your recipe pages.
If your blog runs on another setup, we can provide a small JavaScript file that you can add to your site. This file enables the My Shopping Help side panel on your recipe pages. It’s a plug-and-play solution, drop the script once, and your visitors will get the same MSH experience as blogs using WPRM.
Built for food blogs to increase time on page and return visits.
TOOLS
INGREDIENT INJECTION
Automatically adds the correct recipe ingredients to each instruction step in WPRM. After processing you receive a ZIP with your enhanced WPRM recipe JSON files. Import or update. Check a few posts. Done.

Timer INJECTION
Automatically detects time expressions in your instructions and inserts WPRM timer shortcodes into the right steps. After processing you receive a ZIP with enhanced WPRM recipe JSON files. Import or update. Check a few posts. Done.

INLINE INGREDIENT INJECTION
Automatically adds the correct recipe ingredients within each instruction step in WPRM. After processing you receive a ZIP with your enhanced WPRM recipe JSON files. Import or update. Check a few posts. Done.

Note: Ingredient Injection and Timer Injection work independently of the Meal Planning Plugin.
Creators FAQ
-
No. Ingredient Injection, Inline Ingredient Injection, Image Services and Timer Injection work independently of the Meal Planning Plugin.
-
Sign up as a Creator here. Your Client ID is auto-generated and shown in your dashboard.
-
A ZIP-file with enhanced WPRM recipe JSON files. Import or update in WordPress, review a few posts, done.
-
We insert WPRM timer shortcodes directly into the correct instruction steps.
-
No. The plugin is lightweight.
-
Yes, both tools support batch processing. However, you cannot do this yourself. Once you’ve given us the go-ahead and paid for the service, we’ll take care of the rest.
-
Yes. WPRM is not required. If your blog runs on another setup, we provide a small JavaScript file that you can add to your site.
Ready for more?
When you want mobile-first and premium options, get a branded recipe app from the team behind MSH.